Build your first zap
Follow these steps to build your first Zap using MeaningCloud's App and start including text analytics in your automated workflows.
First, create an account in Zapier if you haven't already. Just go to Zapier's webpage, click on Sign Up in the upper-right corner and follow their instructions.
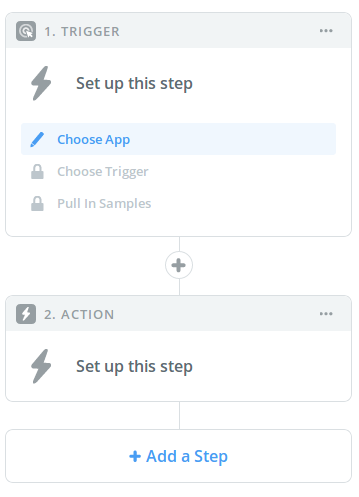
Once you have created your account and you are logged in, the next step is to create a Zap, that is, a connection between two apps. To do so, click on Make a Zap to start the zap creation process. The most basic zap consists on two steps, a trigger and an action.
The Trigger selected is the action that will activate your workflow. In MeaningCloud's case, only actions are available in the app, so the trigger has to be one from any of the apps provided by Zapier. For more information about Triggers, you can check Zapier's Documentation.
Once the Trigger is selected, you can select MeaningCloud as the app to use in the second step. Just search it in the "Choose an Action App" dialog.

Now that the selection of the app is done, the next step is to choose the type of text analysis desired. The possible choices are:
- Analyze Sentiment: analyzes texts and detects their polarity, subjectivity, and irony.
- Extract Topics: extracts relevant information such as named entities, concepts, money expressions, and quantities from a text.
- Classify Text: analyzes texts according to standard taxonomies (such as IPTC or IAB) or user-defined criteria.
- Identify Language: automatically identifies the language of texts obtained from any kind of source.
- Categorize Text: obtains an in-depth rule-based categorization using a combination of morphological, semantic, and text rules.
Once you've selected an action, you will be asked to connect your MeaningCloud account. To do so, you'll be asked to enter your email and your MeaningCloud license key. You can find additional information on how to do this in MeaningCloud's documentation in Zapier.
To obtain your MeaningCloud license key, just follow these steps:
- Create an account in MeaningCloud (using your email or your LinkedIn/GitHub profile);
- Log in and click on "Subscription" at the very top of the page;
- In the "Subscriptions" section, you will find your license key;
- Copy its value to your clipboard.
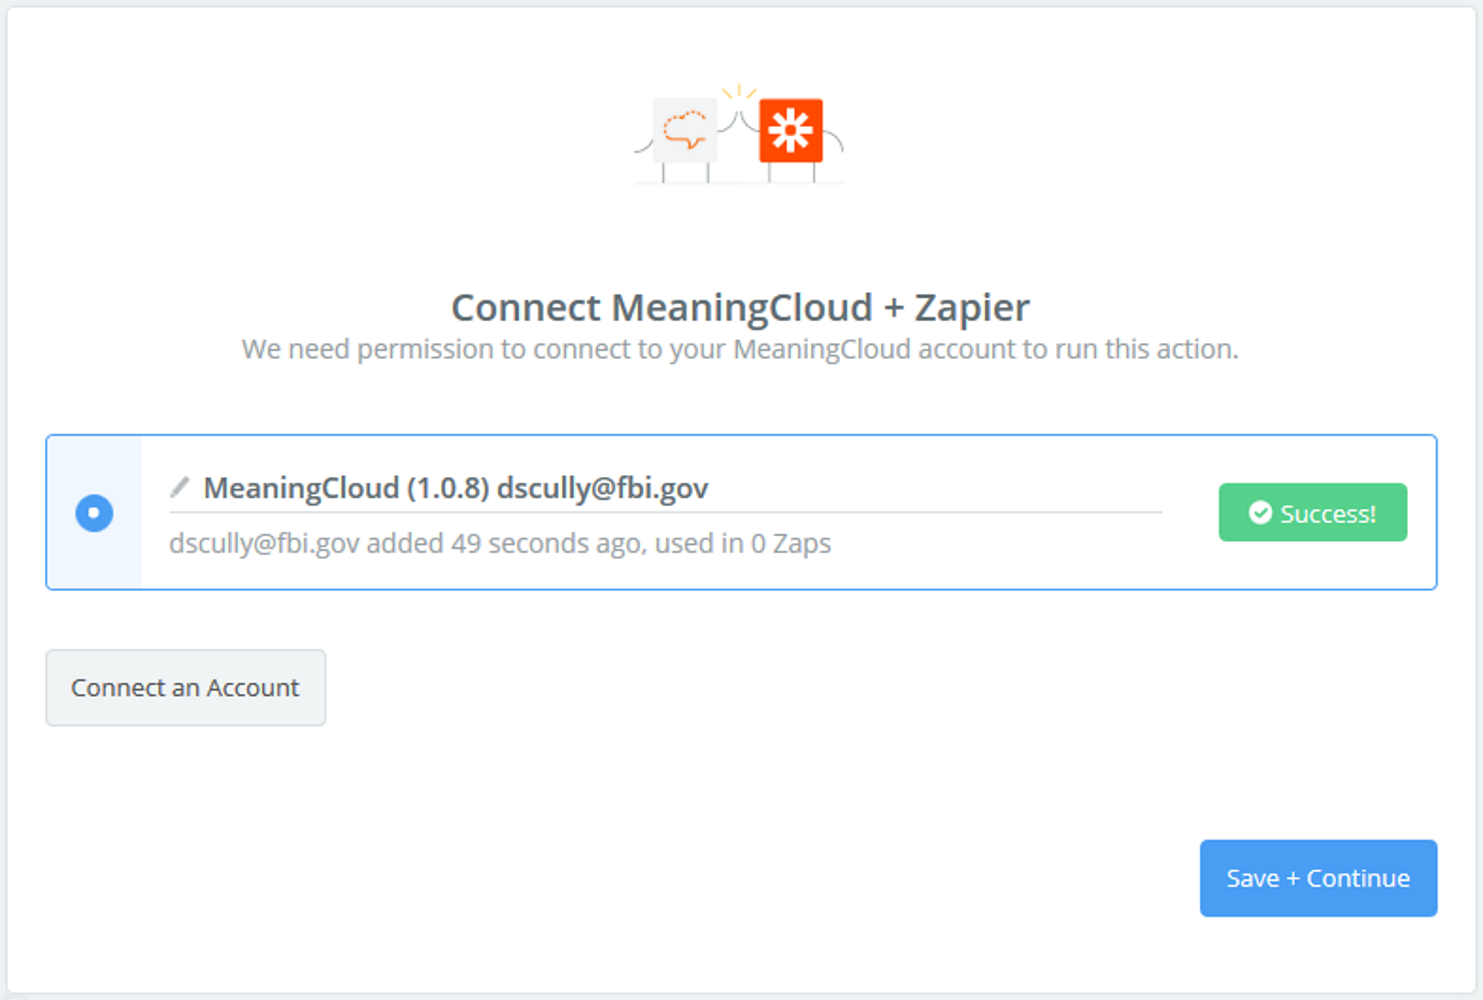
This is what you will see once you've entered both the email and the license key correctly:

The next step will consist of configuring the parameters of the chosen analysis, which are explained in depth in the following sections.
Once everything is configured, Zapier will let you test the step and will display an example of the result obtained for the analysis.

