As you have probably know by now if you follow us, we’ve recently released our new customization console for deep categorization models.
Deep Categorization models are the resource we use in our Deep Categorization API. This API combines the morphosyntactic and semantic information we obtain from our core engines (which includes sentiment analysis as well as resource customization) with a flexible rule language that’s both powerful and easy to understand. This enables us to carry out accurate categorization in scenarios where reaching a high level of linguistic precision is key to obtain good results.
In this tutorial, we are going to show you how to create our own model using the customization console: we will define a model that suits our needs and we will see how we can reflect the criteria we want to through the rule language available.
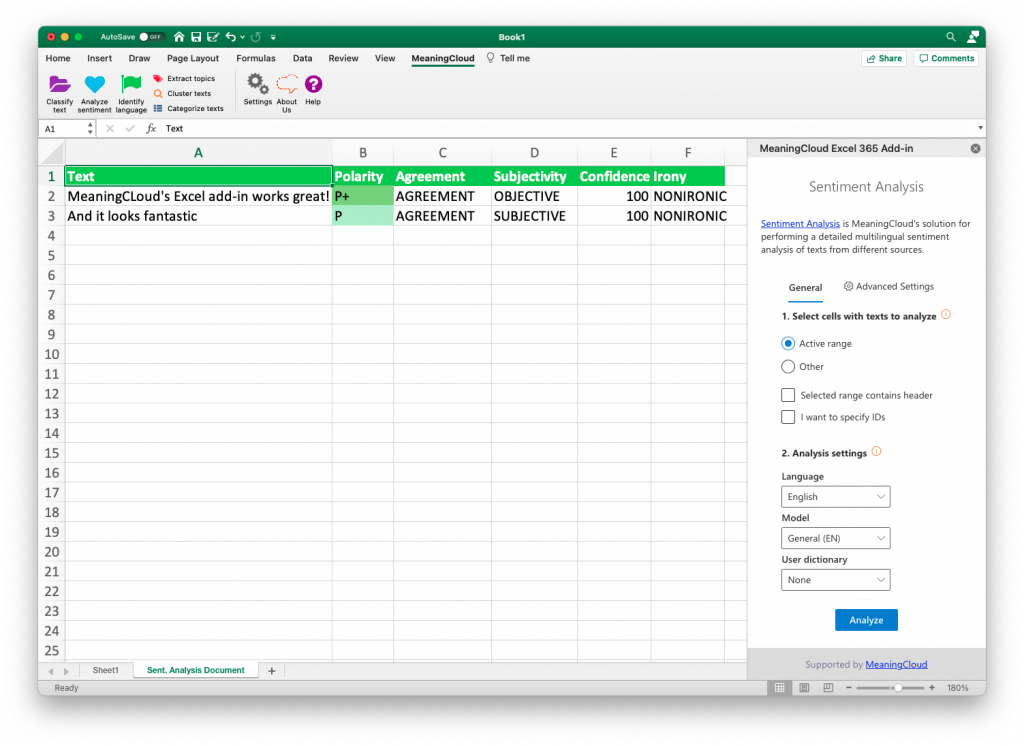
The scenario we have selected is a very common one: support ticketing categorization. We have extracted (anonymized) tickets from our own support ticketing system and we are going to create a model to automatically categorize them. As we have done in other tutorials, we are going to use our Excel add-in to quickly analyze our texts. You can download the spreadsheet here if you want to follow the tutorial along. If you don’t use Microsoft Excel, you can use the Google Sheets add-on.
The spreadsheet contains two sheets with two different data sets, the first one with 30 entries, the second one with 20. For each data set, we have included an ID, the subject and the description of the ticket, and then a manual tagging of the category it should be categorized into. We’ve also added an additional column that concatenates the subject and the description, as we will use both fields combined in the analysis.
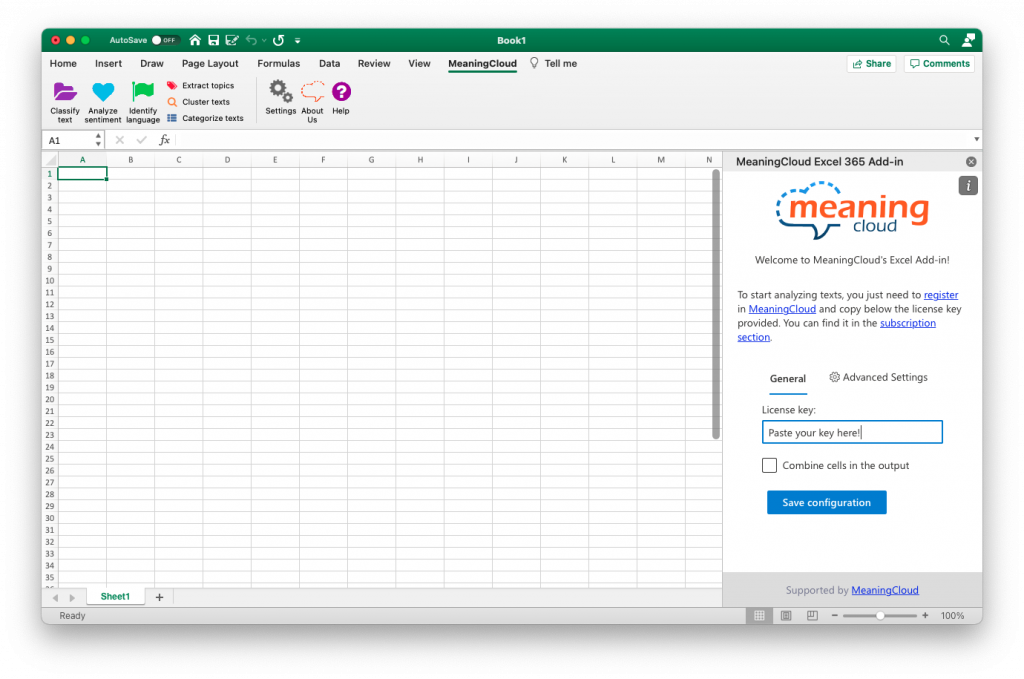
To get started, you need to register at MeaningCloud (if you haven’t already), and download and install the Excel add-in on your computer. Here you can read a detailed step by step guide to the process. Let’s get started! Continue reading →


